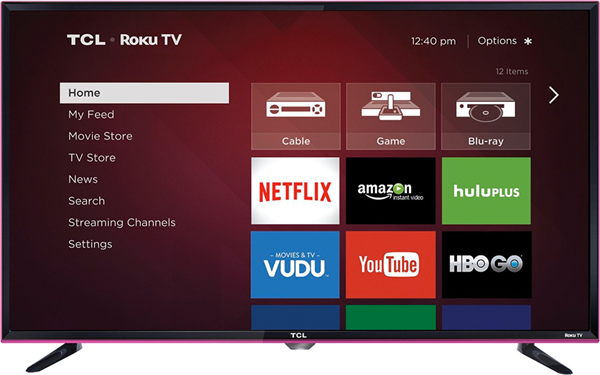
In today’s digital age, Roku TV has revolutionized the way we consume media content, offering a wide array of entertainment options at our fingertips. However, encountering the dreaded “No Signal” message can disrupt your viewing experience and leave you frustrated. Fear not! In this comprehensive guide, we’ll explore common causes of signal loss on Roku TV and provide effective solutions to get you back to enjoying your favorite shows and movies.
Before diving into solutions, it’s essential to understand why your Roku TV may be displaying a “No Signal” message. This issue can arise due to various factors, including:
- Wi-Fi Connectivity Problems: Weak or unstable Wi-Fi connections can hinder the streaming capabilities of your Roku TV.
- Hardware Issues: Cable defects, faulty connections, or outdated hardware can contribute to signal loss.
- Environmental Factors: External factors such as bad weather conditions may impact signal reception, particularly for over-the-air channels.
Troubleshooting Steps to Fix “No Signal” on Roku TV
1. Utilize a LAN Cable for Wired Connection
When Wi-Fi connectivity is unreliable, switching to a wired connection can provide a more stable signal. Follow these steps to set up a LAN connection:
Step 1: Disable the wireless Wi-Fi connection in your Roku TV settings.
Step 2: Connect one end of the LAN cable to the designated port on the back of your Roku TV.
Step 3: Connect the other end of the cable to your internet source.
Step 4: Turn on internet connectivity and scan for channels again to ensure a stable connection.
2. Optimize Wi-Fi Connectivity
If a wired connection isn’t feasible, optimizing your Wi-Fi network can improve signal strength. Follow these steps to troubleshoot Wi-Fi connectivity issues:
Step 1: Access the settings menu on your Roku TV and navigate to “Connections and Network.”
Step 2: Select the option for internet connection and ensure it’s connected to the appropriate Wi-Fi network.
Step 3: Refresh the network connection by toggling Wi-Fi off and on.
Step 4: Reload the streaming app or channel to check for a stronger connection.
3. Address Slow Internet Speeds
Slow internet speeds can impede streaming quality and result in a “No Signal” error. Consider the following steps to address this issue:
Step 1: Disconnect other devices connected to your Wi-Fi network to reduce bandwidth congestion.
Step 2: Upgrade to a faster internet plan if slow speeds persist.
Step 3: Reboot your Wi-Fi router to apply any changes made by your service provider.
4. Consider Environmental Factors
External factors such as bad weather can affect signal reception, especially for over-the-air channels. Keep these considerations in mind:
- Step 1: During inclement weather conditions, wait for the weather to improve before troubleshooting further.
- Step 2: If using over-the-air channels, scan for channels again after weather conditions have improved.
5. Check for Cable Defects and Connections
Ensure that cables are securely connected and free from defects, as improper connections can lead to signal loss. Follow these steps:
- Step 1: Inspect cables for any signs of damage or wear.
- Step 2: Verify that cables are securely connected to both your Roku TV and external devices.
- Step 3: Correct any loose connections or replace damaged cables as needed.
Conclusion
In conclusion, encountering a “No Signal” message on your Roku TV can be frustrating, but with the right troubleshooting steps, you can quickly resolve the issue and get back to enjoying your favorite content. By addressing Wi-Fi connectivity issues, optimizing internet speeds, considering environmental factors, and checking for cable defects, you can ensure a seamless entertainment experience with your Roku TV. Remember to follow the troubleshooting steps outlined in this guide, and you’ll be back to streaming in no time!
Experiencing difficulties with your Device, check out our “How To” page on how to resolve some of these issues.


